


|
Technical Specification |
|
|
Model |
VTH1510CH/VTH1550CH/VTH1550CHW/VTH1660CH |
|
System |
|
|
Main Processor |
Embedded Micro Processor |
|
Operation System |
Embedded LINUX OS |
|
Video |
|
|
Video Compression |
H.264 |
|
Audio |
|
|
Audio Compression |
G.711 |
|
Audio Input |
All-direction Microphone |
|
Audio Output |
Built-in Loudspeaker |
|
Bidirectional Talk |
Support Dual-way Bidirectional talk |
|
Display |
|
|
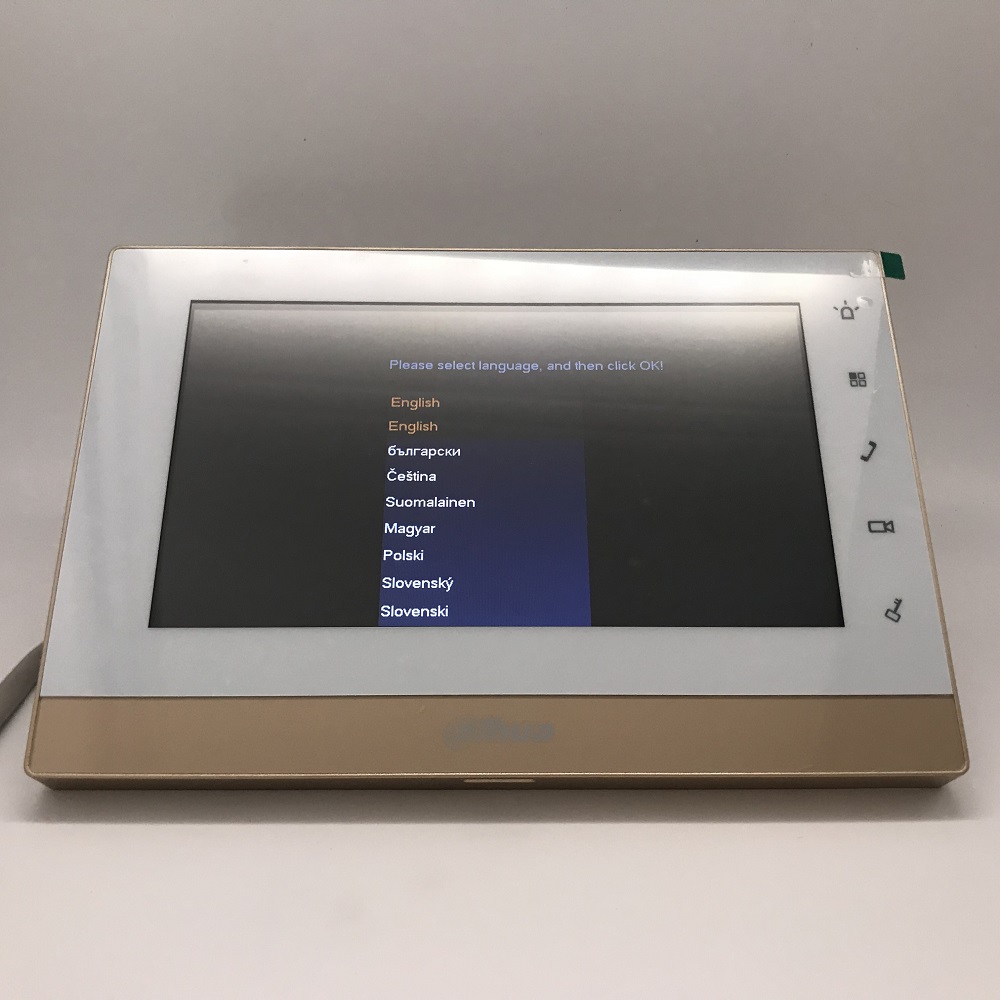
LCD Screen |
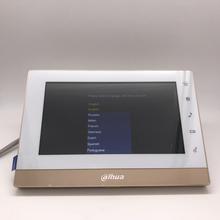
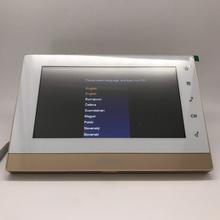
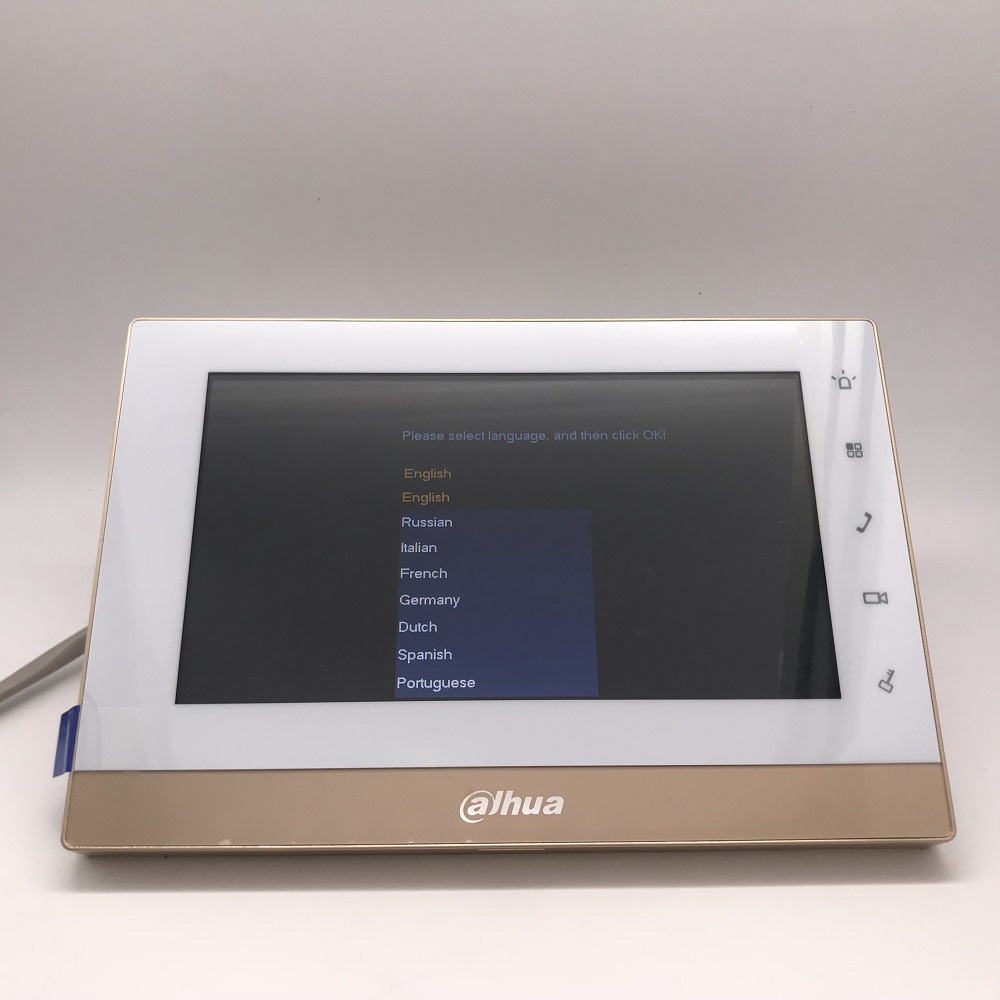
VTH1510CH/VTH1550CH/VTH1550CHW: 7“ 800×480; VTH1660CH 10.2-inch TFT LCD |
|
Operation Mode |
|
|
Input |
Touch buttons |
|
Interface |
|
|
Alarm In |
6 |
|
Alarm Out |
0 |
|
RS485 |
1 |
|
Network |
|
|
Ethernet |
10M/100Mbps Self-adaptive |
|
Network Protocol |
TCP/IP |
|
General |
|
|
Memory Slot
|
VTH1550CHW: Have a TF slot;
VTH1510CH:Have a TF slot; VTH1550CH: Have a TF slot; VTH1660 :4G TF crad |
|
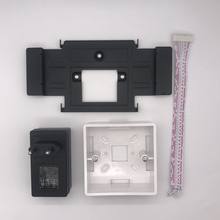
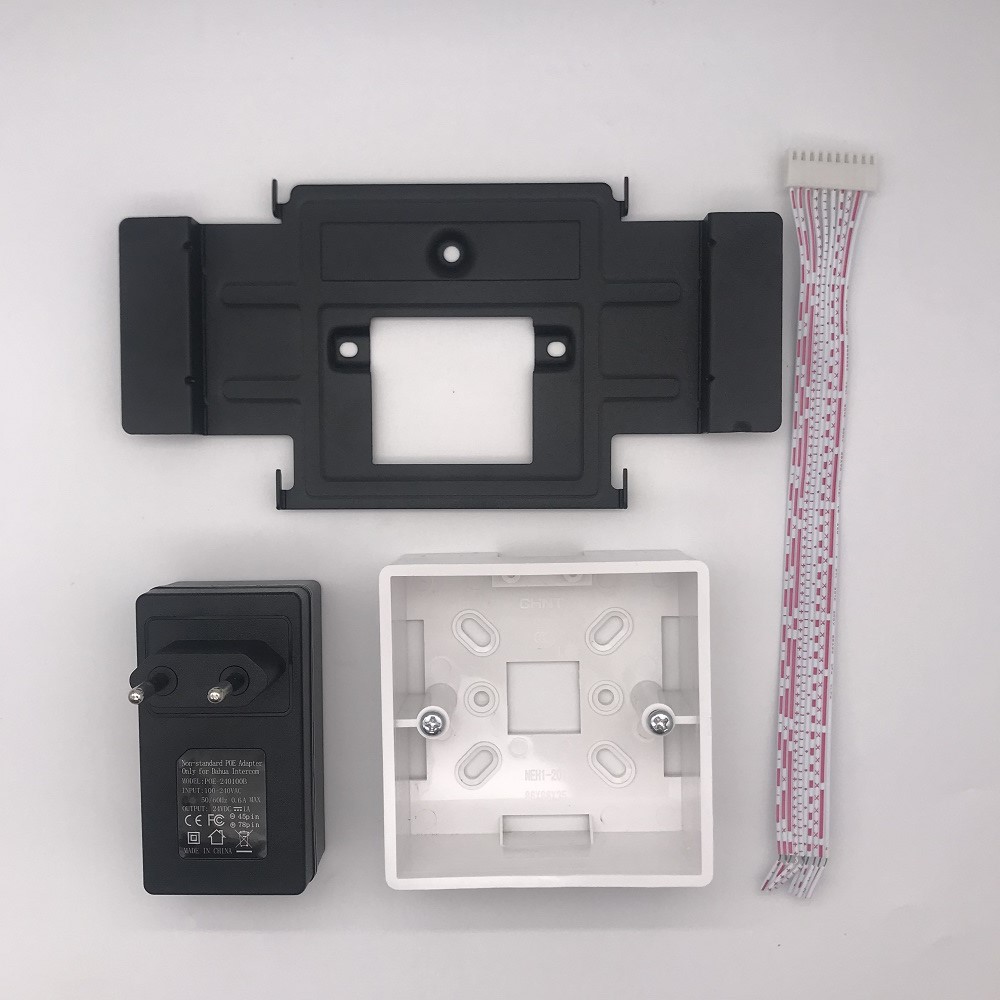
Installation |
Surface |
|
Power |
DC 12V/ supply directly by VTNS1060A |
|
Power Consumption |
Standby ≤1.5W, Work ≤7W |
|
Working Temperature |
﹣10°C~+55°C |
|
Relative Humidity |
10%~90%RH |
|
Dimensions |
200.5mm×136.5mm×22.0mm |
|
Weight |
0.8Kg |

How To Add A VTH1550CH To A VTO2000A
1.Into the indoor monitor project settings,password:888888;![]()

2.Into Products info ,Room No :9901;![]()

3.Into Net set to view the IP address:192.168.1.109;![]()

4.Must open“Enable Status”,This is the key, you don’t need SIP.![]()

5.Now into the VTO(192.168.1.110), user name :admin, password : admin;Add indoor manager info;![]()

6.If you want to use P2P, you should fill in the correct gateway and DNS.![]()
![]()


7.When there is no X icon, you are success.![]()

Add indoor manager info;
Add indoor manager info;
How To Add A VTH1550CH To A VTO1210C-X
Description
This Step by Step guide will provide instruction to setup A VTH1550CH To A VTO1210C-X via a LAN connection.
Prerequisites
- Power and network to VTH1550CH and VTO1210C-X
- Windows PC on netwo
Step by Step Instructions
VTO1210C-X Setup:
1. Log into the VTO via it’s IP address using Internet Explorer (username:admin password:admin). To configure the VTO1210C’s IP address please use the config tool to find the IP an change it. Alternatively press * and enter the admin code in (888888, but it can be modified) followed by # to access the menu. Select IP Setting to set the IP address, subnet mask, and gateway settings.
2. Under System Config-> Local Config set the video format to WVGA, Make sure your device type is set to Unit Door Station, then select OK.
3. Select LAN Config and make sure “Group Call” is checked, then select OK.
4. Select Logout-> Reboot Device and then select Reboot Device and then give the device 2-5 minutes to reboot and then log in again.
VTH Setup
5. Select System Config-> Indoor Manager and then select Add, and add your VTH number(s), as well as any additional (but not required) information. This should conclude the Setup of the VTO1210C-X
6. Tap the VTH on it’s first boot (or factory reset) and then enter the room number you had entered into the VTO1210C-X via Internet Explorer, then select OK, then select OK again, and then exit the window.
7. Select settings -> Project Settings and enter the default password of the VTH (888888, or 002236, or 123456, or user specified) and select OK.
8. Select Net Set, and enter in a valid IP address or use DHCP for your router to address one and select OK.
9. Select Network and enter in the VTO’s IP address and select OK. There should now be a message that says “Please wait until setup completes…” then “Set Successfully!”. Notice in the upper left corner of the screen that the VTO disconnected symbol is removed, this is an indicator that your device is connected.
10. To add more VTH devices please repeat steps 5-9 and use a different room number. You should now be able to use both devices together as intended.